• Brook Documentation
    • Getting Started
      • Welcome to Brook
      • Theme Requirements
      • WordPress Knowledget Base
      • What's Included
    • Support
      • ThemeMove Support System
    • Installation
      • Theme Installation
      • Plugin Installation
      • Plugin Configuation
      • Demo Installation
      • Common Installation Issues
    • Update
      • Before Updating
      • Update Theme
    • Build Your Site
      • WordPress Configuration
      • Customize
    • Page
      • Create a New Page
      • Use Visual Composer to Build Page
      • How to Change Page Title
      • Page Options
      • How to Setup Maintenance page
      • How to setup a One-page Site
      • How to Create a One Page Scroll
    • Menu
      • How to Create a Menu
      • How to Edit Menu
      • How to Create Mega Menu
    • Header
      • How to set the default Header Style
      • How to customize the Header Style
      • How to use the Sticky Header
    • TopBar
      • How to set the default Topbar
      • How to customize the Top Bar Style
    • Page Title
      • How to choose the default Page Title Bar
      • How to Customize Page Title Bar
    • Footer
      • How to Create a Footer Style
      • How to Set Default Fotter
    • Slider
      • How to Create a New Slider
      • How to Edit Your Slider
    • Post
      • How to Create a New Page
      • How to Create a Category
      • How to Create a Blog Archive Page
    • Widget
      • How to Create a Sidebar
      • How to Add Widget in Sidebar
      • How to Edit Widget
      • How to Add Sidebar for a Page
    • Portfolio
      • How to Create Portfolio
      • How to Customize the Default Portfolio
    • WooCommerce
      • Set up an Online Store
      • How to Customize Your Online Store
    • FAQs
      • What are Common Installation Issues
      • How to Change Color
      • How to Change Contact Information
      • How to Change Logo
  • How to Create Mega Menu

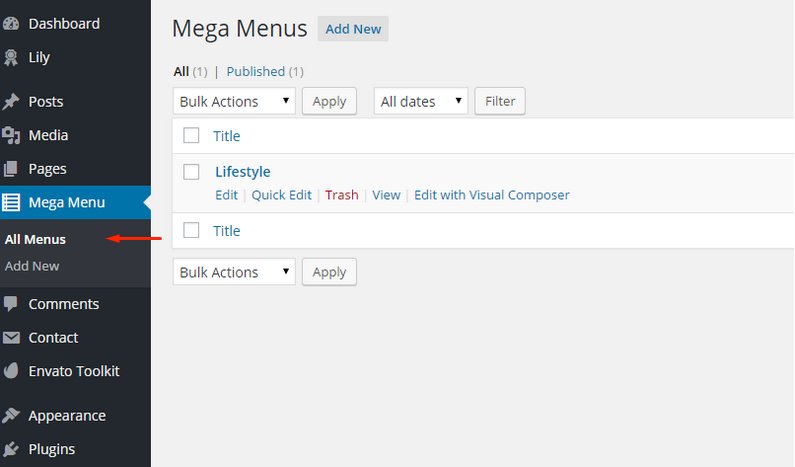
    Step 1: Navigate to Mega Menu from the admin dashboard >> Add New Menu

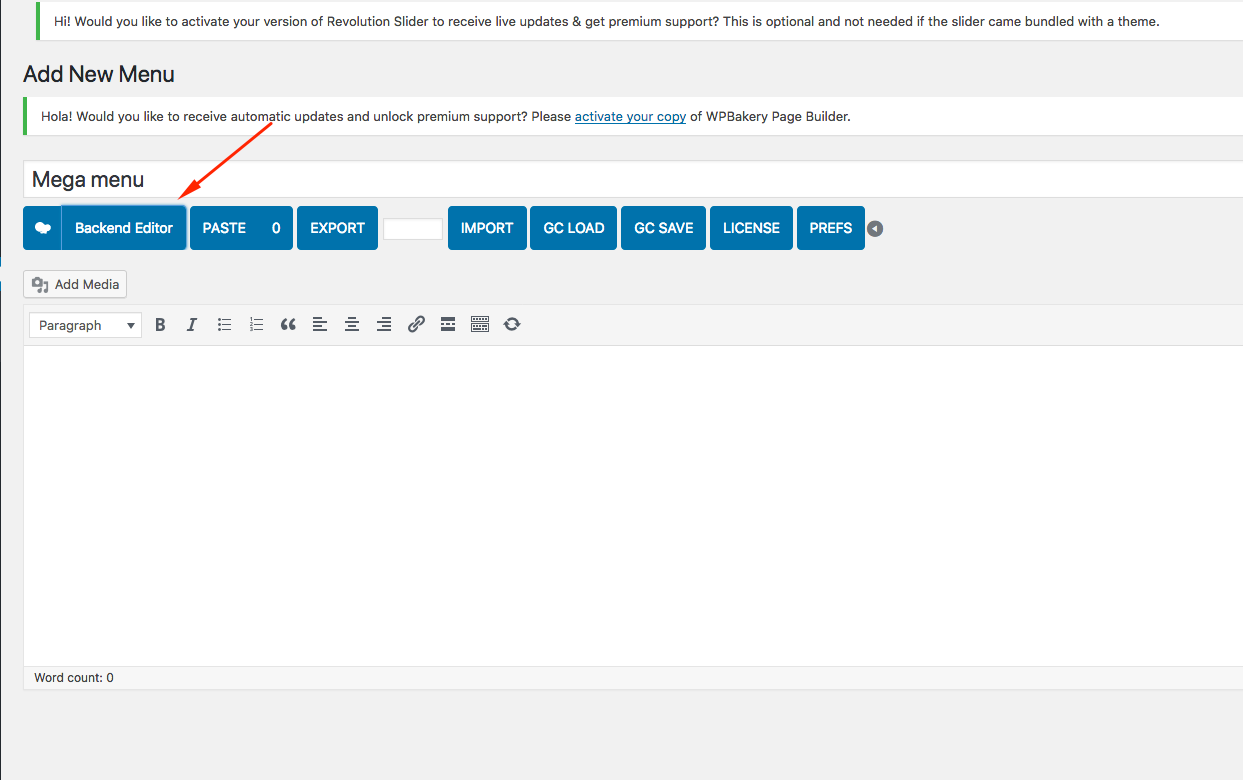
    Step 2: Give your menu a name

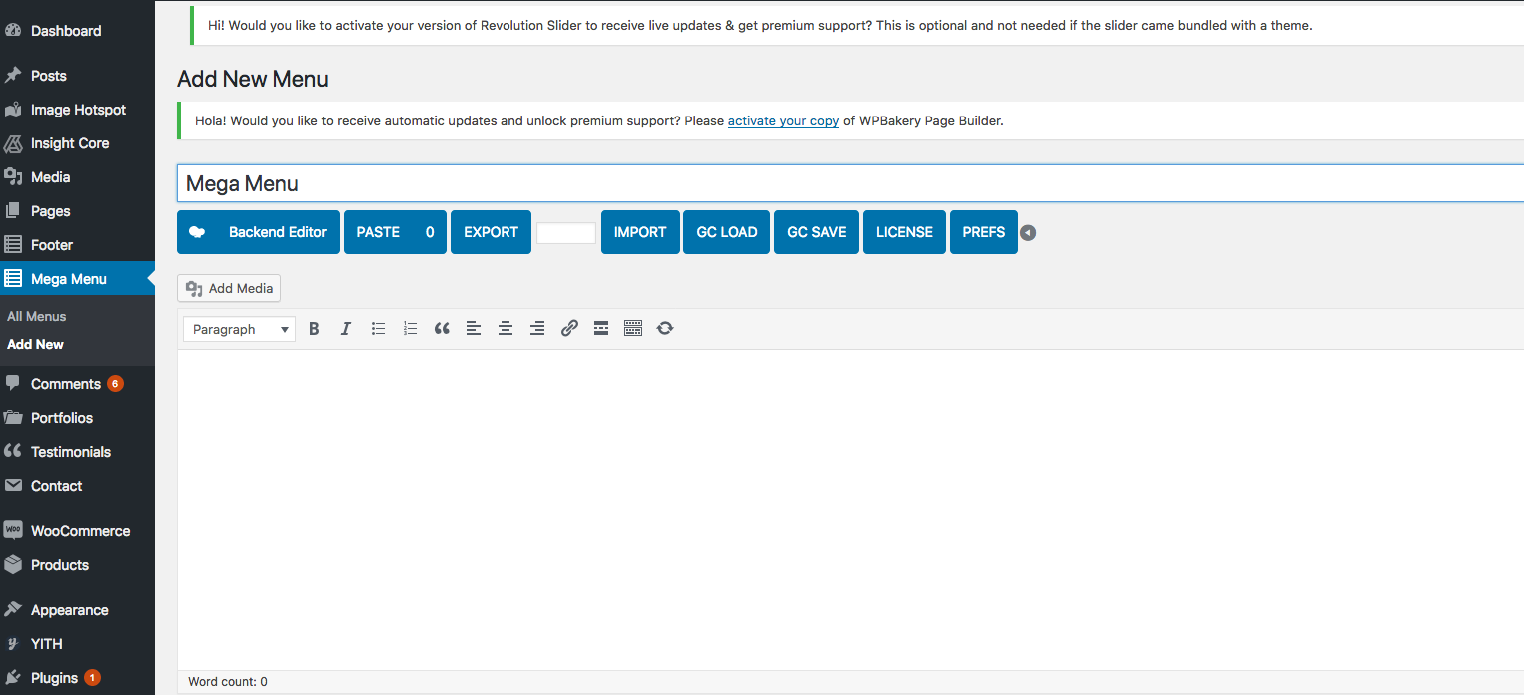
    Step 3: Click Backend Editor button.

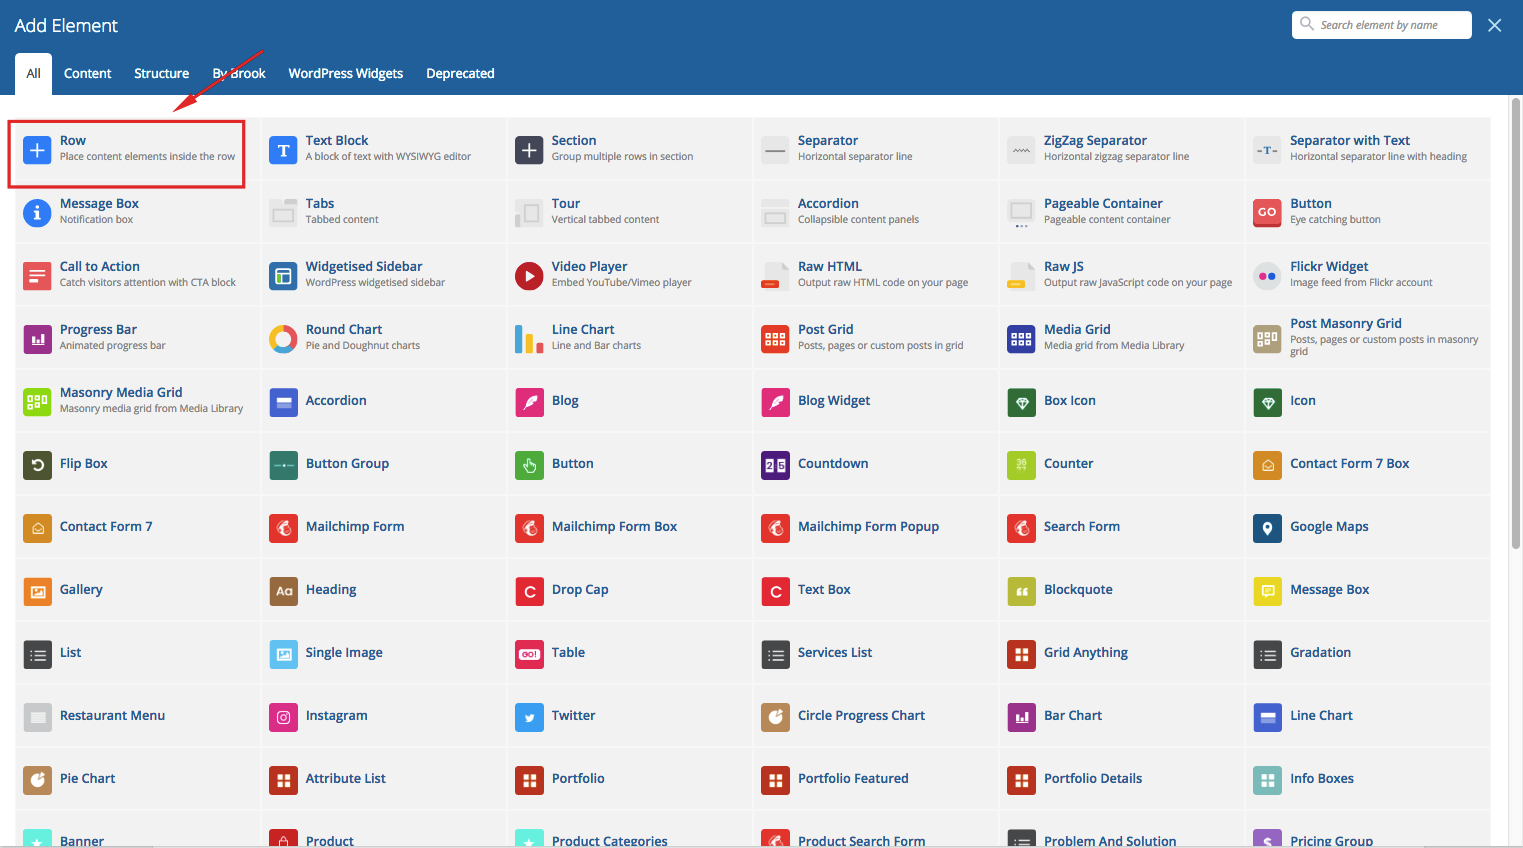
    Step 4: Hit Add Element >> Find Row

    Step 5: Choose the type of mega menu to be displayed by clicking on the second option of the top left section.

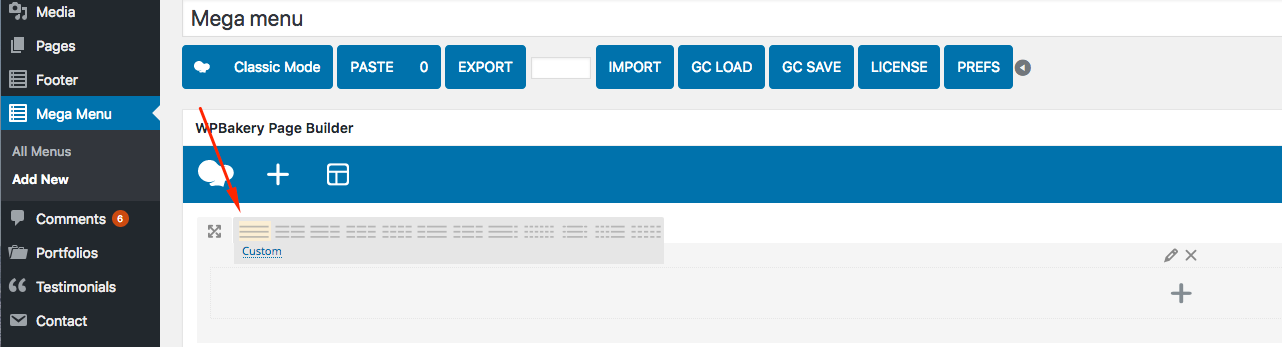
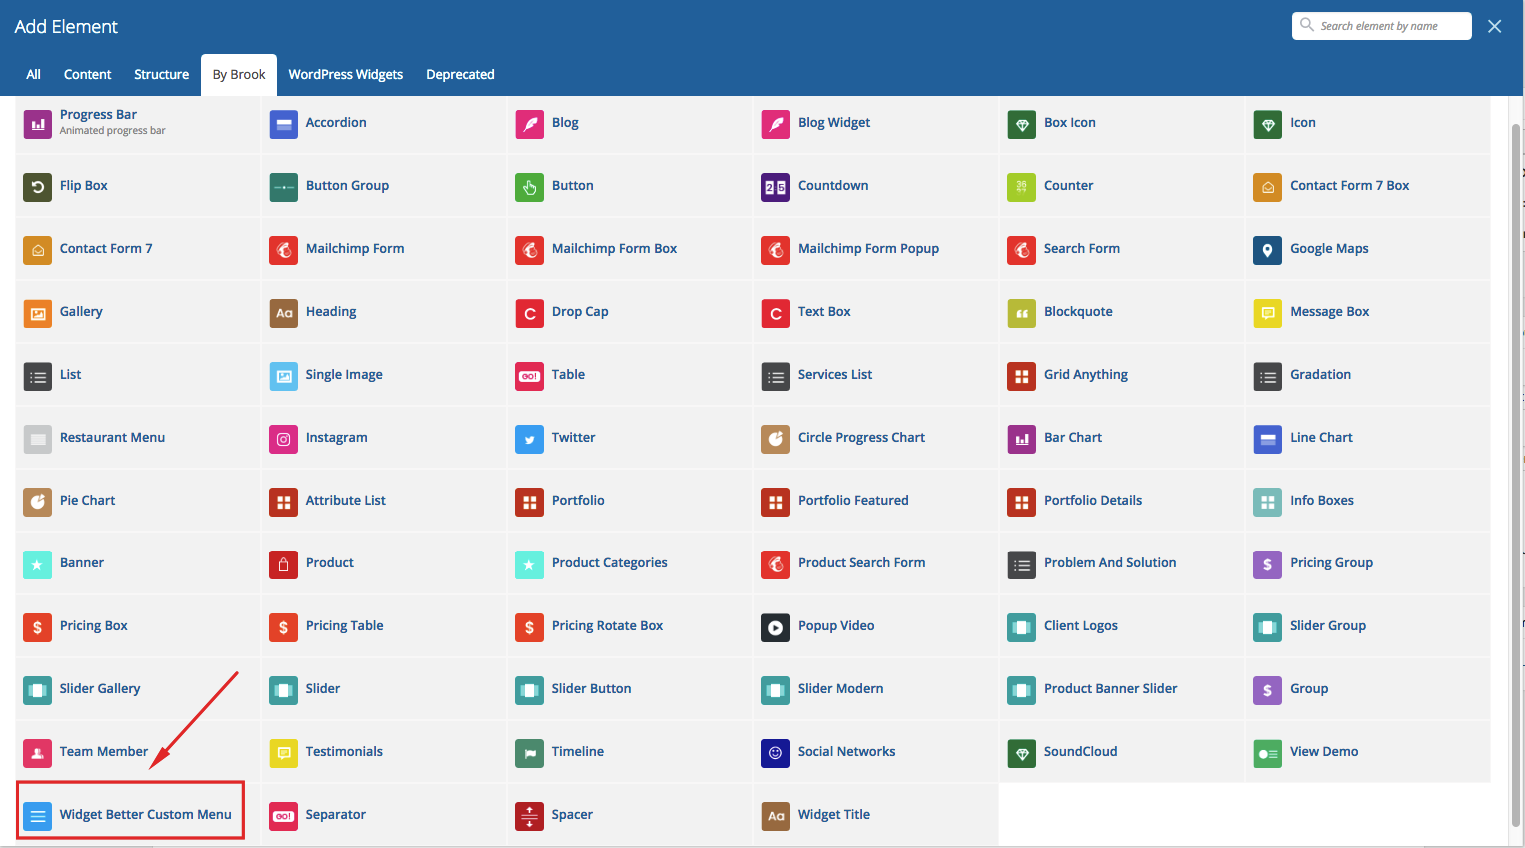
    Step 6: Click “+” button to choose the element you need.

    Here we have 5 tabs: Content, Structure, By Businext, WordPress Widgets, and Deprecated.

    To create a Mega Menu like shown in the demo, choose By Businext >> Widget Better Custom Menu.

    Fill in all fields of the Widget Better Custom Menu settings as belows:

    Widget title: Name the title

    Style: Choose a menu style

    Style: Choose a menu style

    Menu: Choose the menu you have created in Menus

    Extra Class name: (optional)

    Remember to hit Save Changes.

    Step 7: Click Publish to apply the settings.

    To add a new mega menu to your site, navigate to Appearance >> Menus then choose among available menus for a suitable place for your new mega menu:

    After successfully creating your mega menu, you’ll need to add it to the Menus.

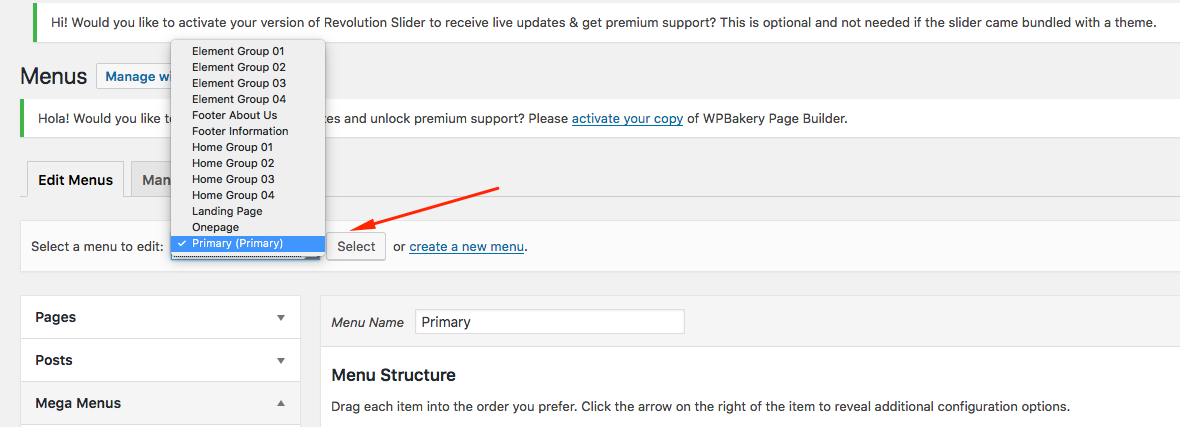
    Step 8: Navigate to Appearance >>Menus

    Step 9: Click on Select a menu to edit then choose the menu you want to add into the mega menu.

    Step 10: Find the Mega Menus section

    Step 11: Mark the menu you want to show then hit Add to Menu. You can drag then drop them to make them follow your desired order of display. Remember to hit Save Menu to save all of your changes.

    Note: You cannot add more than 1 mega menu in the parent menu section.

    How to Edit Menu
    Next: How to set the default Header Style